
この記事ではblenderのインストールした後の初期設定について紹介しています。
初期設定はとっても大事だよ。
blenderはそのままだと英語表記になってたりするんだよ。
目次
blender を日本語表記にする
Edit から設定メニューを開く

画面上部の Edit をクリックします。
設定メニューから Preferences を開く
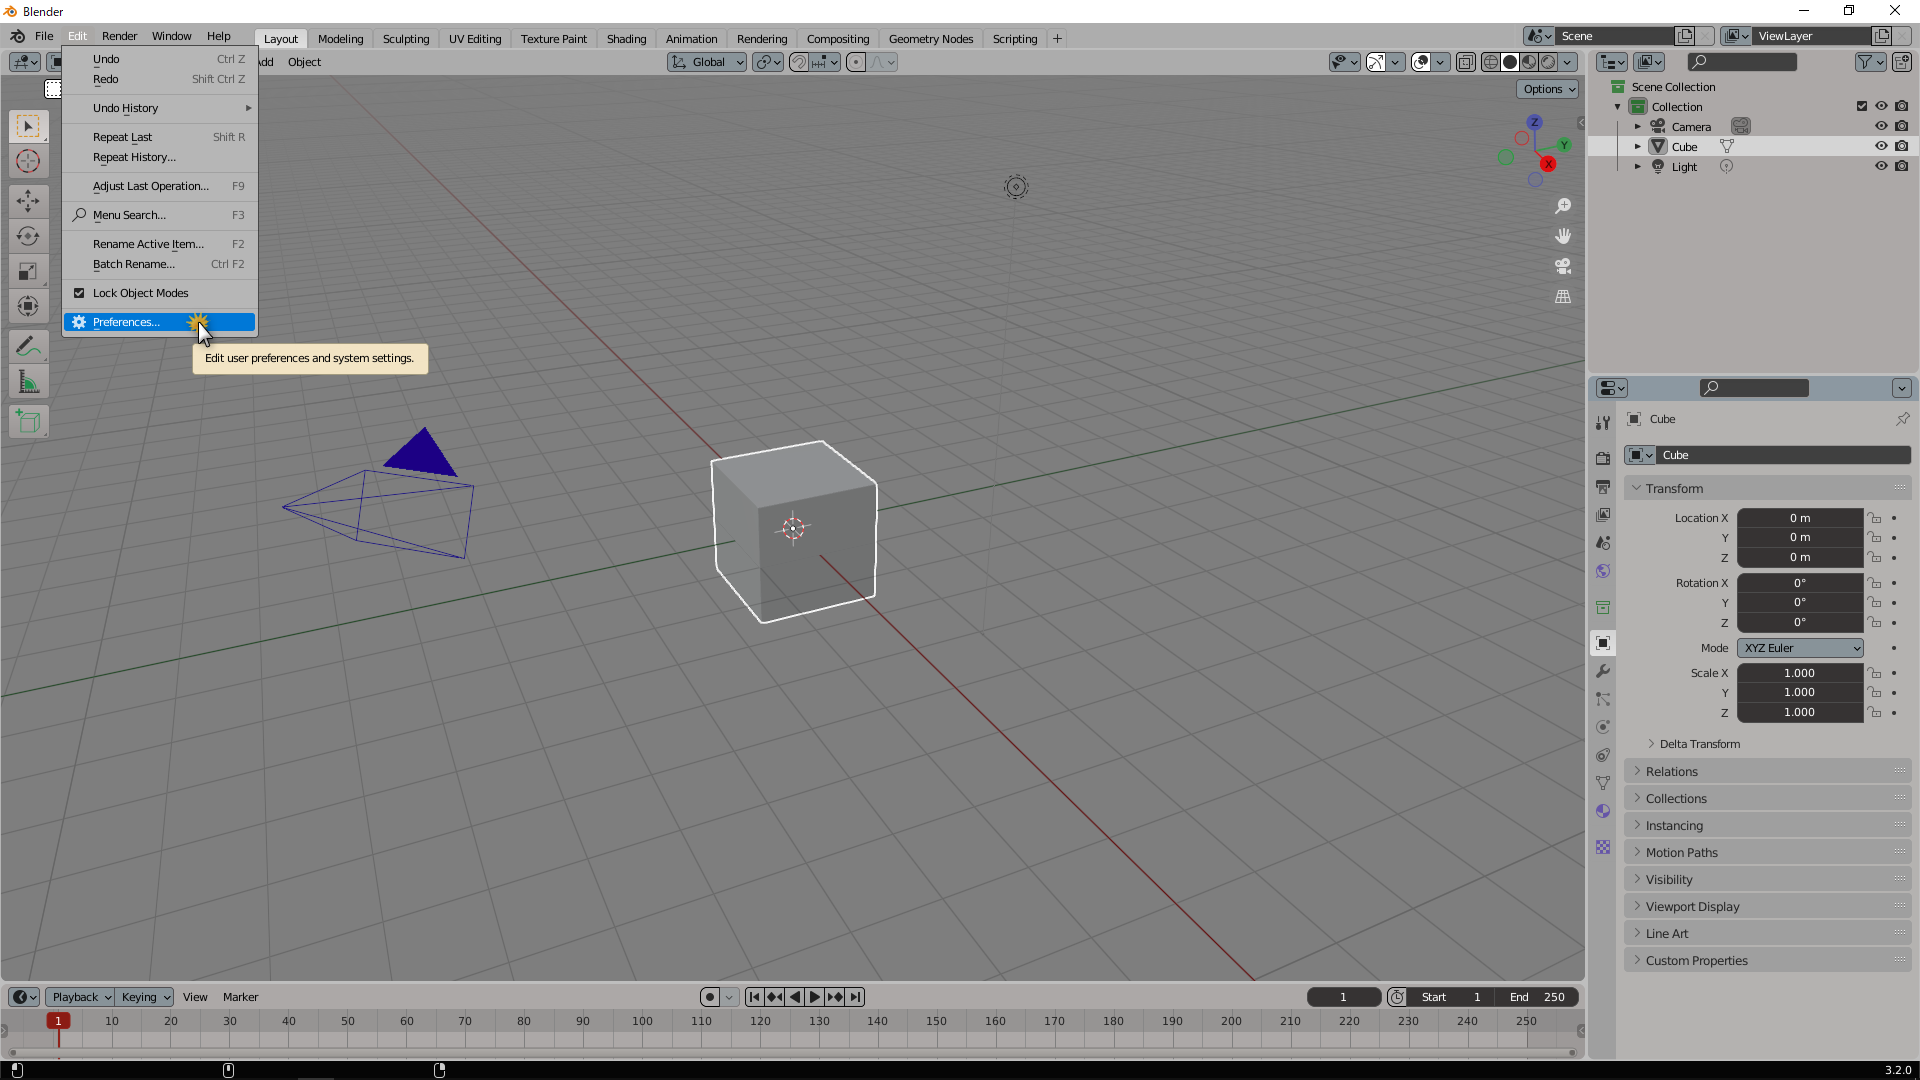
表示されたメニューの一番下の項目をクリックします。
Language を Japanese に設定する
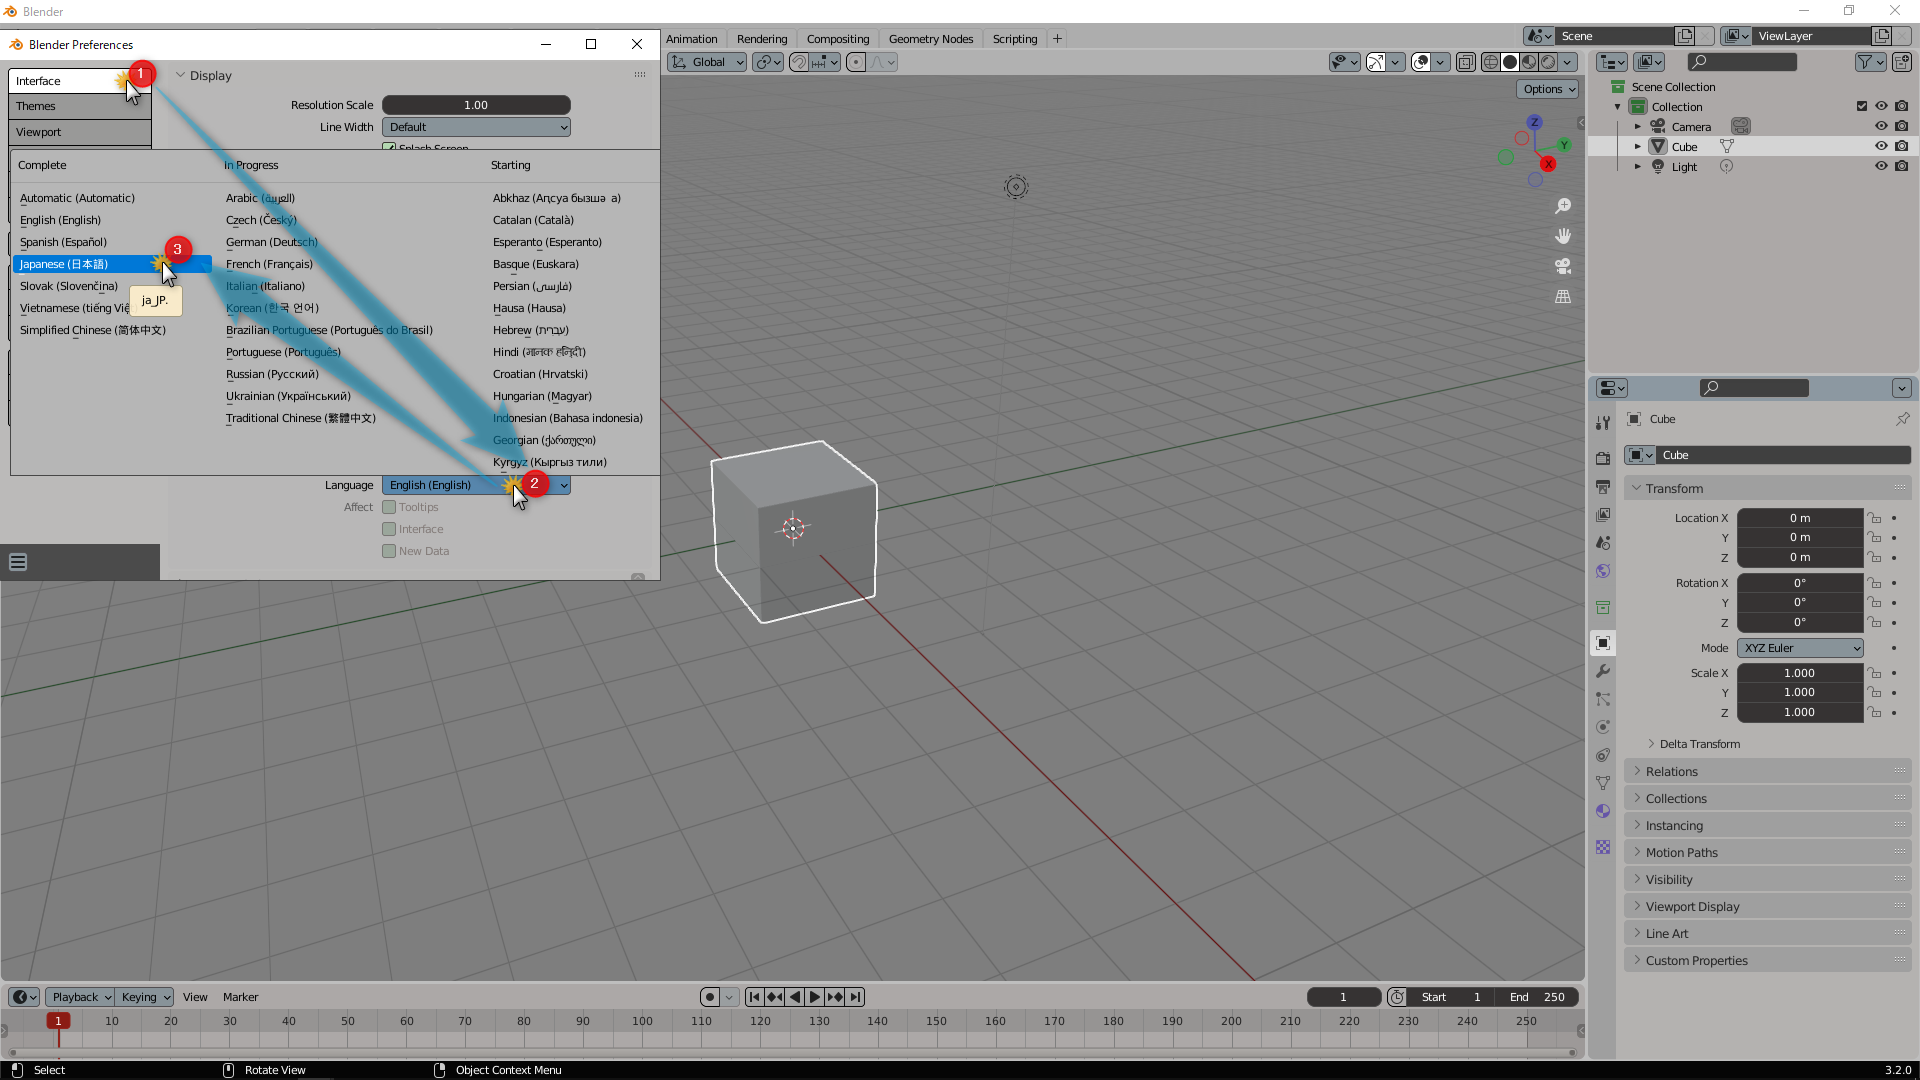
Interface メニューから Language の項目を Japanese に変更します。
新規データのみチェックを外す
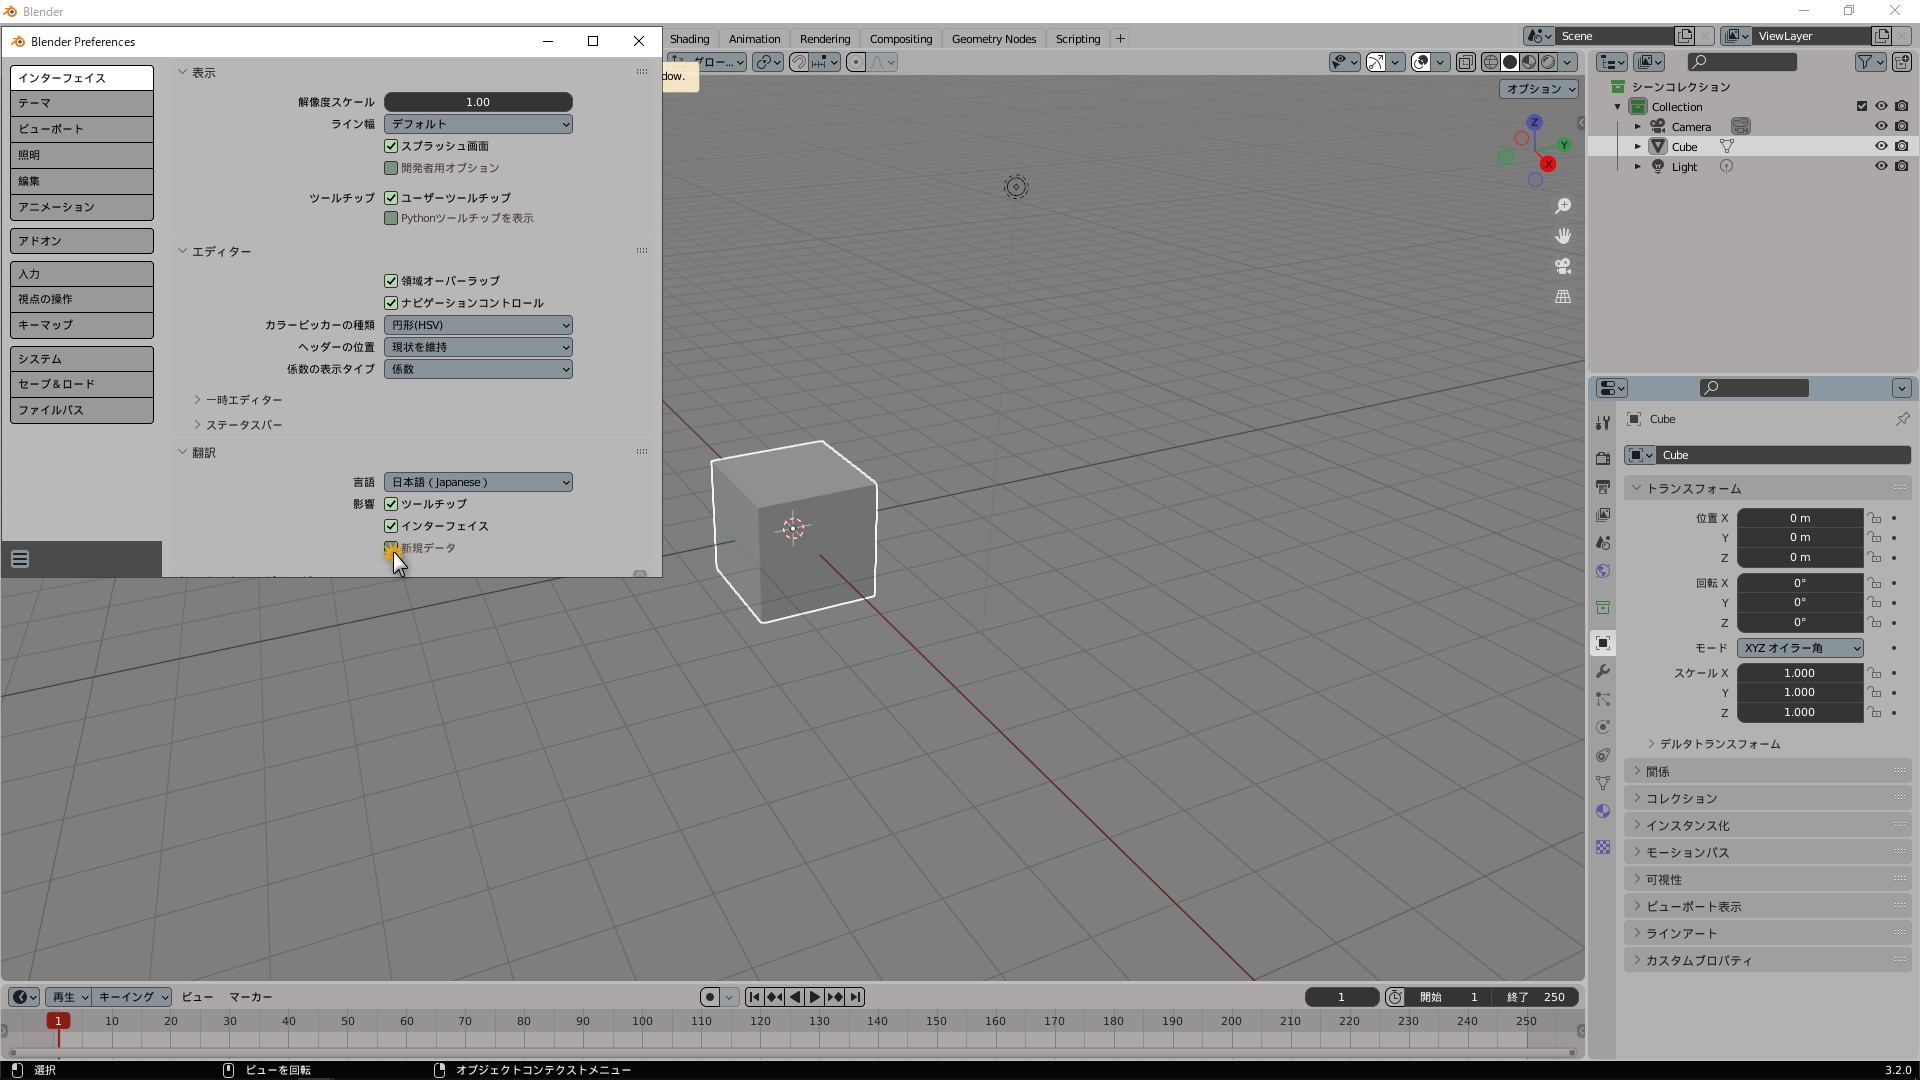
新規データの項目はチェックを外しておくことをお勧めします。
※ 英単語を自動で変換されてしまう事を防げます。
設定の自動保存にチェックを入れる
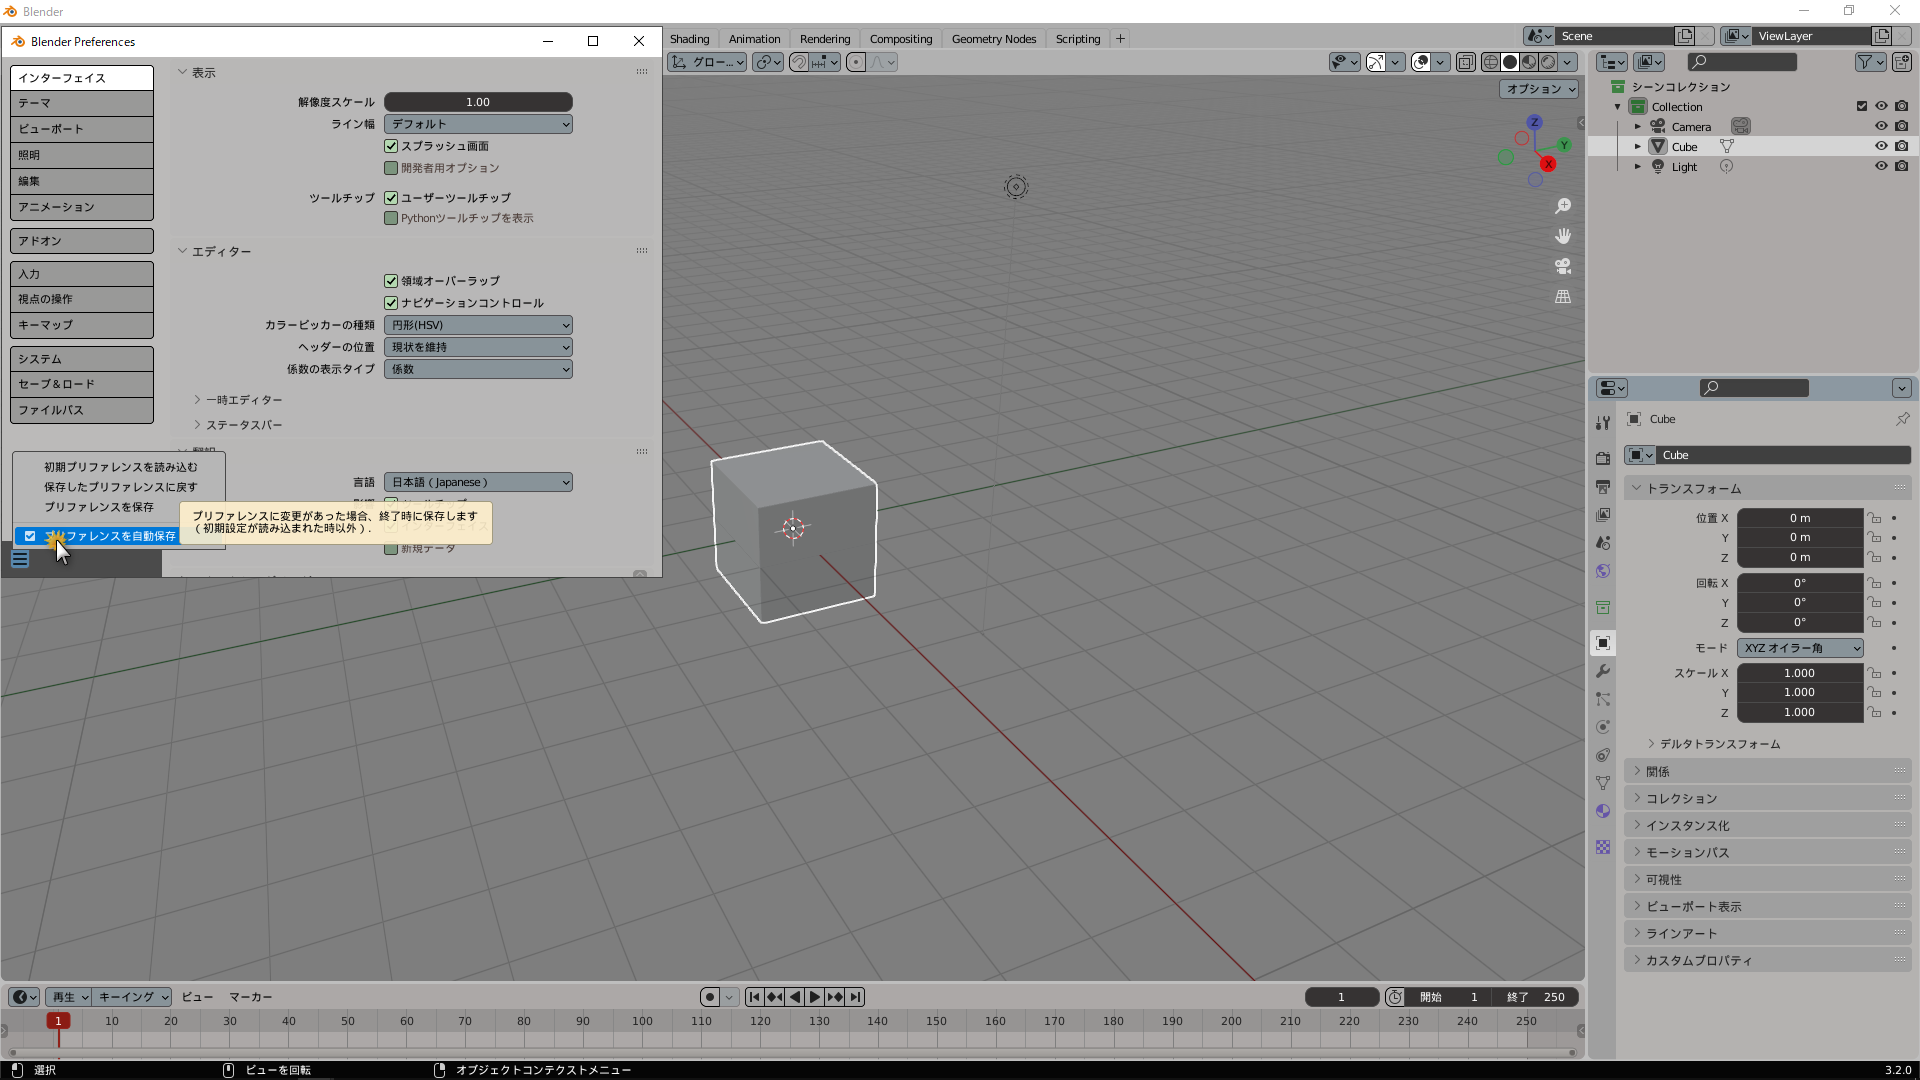
チェックを入れる事で、設定した内容が自動で保存される様になります。
おつかれさま!これで日本語化は完了だよ!